Planning an AC installation? This guide breaks down everything you need to know—from the initial consultation to the final system check—to help you decide if you should DIY or hire a pro.
Key Takeaways
- Successful AC installation starts with thorough planning, evaluating ductwork, insulation, and selecting the right system based on home size and climate.
- The installation process includes obtaining necessary permits, safely removing old units, and ensuring proper handling of refrigerant and electrical connections.
- Regular maintenance of your AC system is crucial for longevity and efficiency, including monitoring drain lines, replacing filters, and addressing common issues promptly.
Planning Your AC Installation
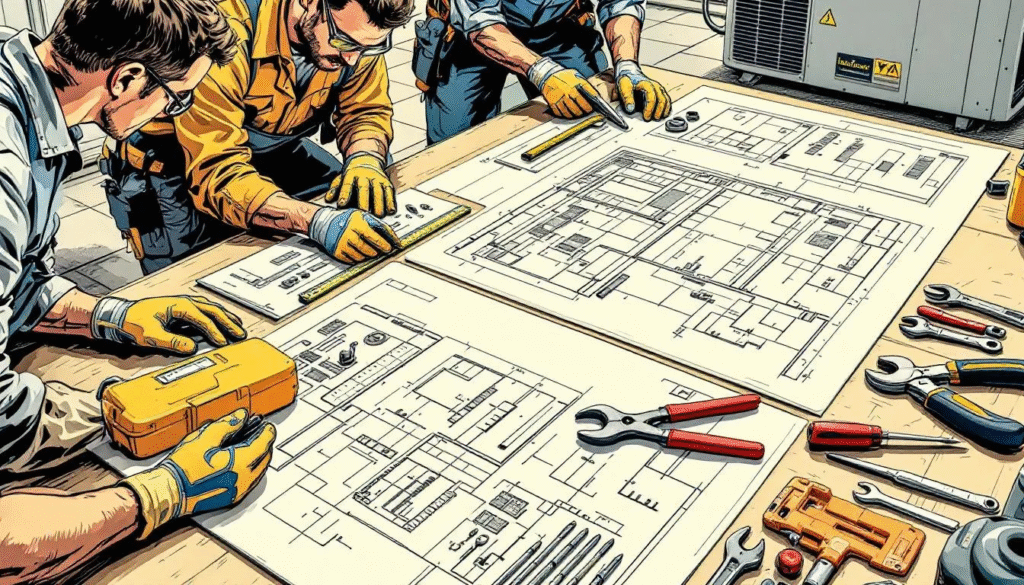
The foundation of a successful air conditioner installation begins with thorough planning. Properly evaluating your existing ductwork can significantly enhance the performance of your new air conditioning system and air conditioners. This step ensures that your new unit operates efficiently, delivering the comfort you expect.
Energy efficiency ratings, particularly SEER ratings, play a crucial role in determining the potential operating costs of your AC unit. When budgeting for a new air conditioner or newer air conditioners, consider both the initial costs and the expected long-term savings on energy costs and energy bills. Inspecting your home’s insulation and sealing windows and doors can maximize the efficiency of your AC system.
Consider the following when selecting and planning your air conditioning system:
- Consider your home’s climate and size to select an appropriate air conditioning system.
- Use a Manual J load calculation, the industry standard for sizing HVAC equipment, to ensure your system is correctly sized.
- Plan the placement of indoor and outdoor units to facilitate effective airflow and maintenance access.
Initial Home Consultation
The next step involves consulting an HVAC professional. In the initial consultation, the estimator reviews your existing air conditioning system and gathers information to provide an installation proposal. This expert assessment tailors the installation to your home’s specific needs.
Homeowners can expect their local HVAC dealer to provide recommendations and an estimate for HVAC installation after the assessment is completed. This process includes handling the necessary permits to ensure compliance with local regulations.
After receiving the estimate, review the cost breakdown to understand the financial commitment and ensure no hidden surprises.
Removing the Old Air Conditioning Unit
Removing the old air conditioning unit is a delicate process that requires EPA certification for refrigerant handling. Attempting to remove refrigerant without proper training is dangerous, so certified HVAC technicians should handle this task. The recovery method uses a machine and recovery tank to safely remove refrigerant from the old unit. According to EPA Regulations, it is prohibited to openly vent AC refrigerant into the atmosphere.
Steps to prepare for installing a new central air conditioner:
- Safely remove the refrigerant.
- Disconnect the wiring from the old unit to avoid electrical hazards.
- Carefully remove the old unit to set the stage for a smooth installation of the new system.
Preparing the Installation Site
Preparing the installation site is crucial for the stability and efficiency of your new air conditioning system. Start by leveling the area with a gravel base and replacing the pad for the old outdoor unit to accommodate the new air conditioner. This prevents issues such as shifting and cracking, which can occur with concrete pads.
Additionally, inspect and seal the ductwork to ensure it is in good condition and properly connected. Any necessary relocations or modifications should be addressed at this stage to ensure optimal performance of your new air conditioning unit.
Installing the Outdoor Unit
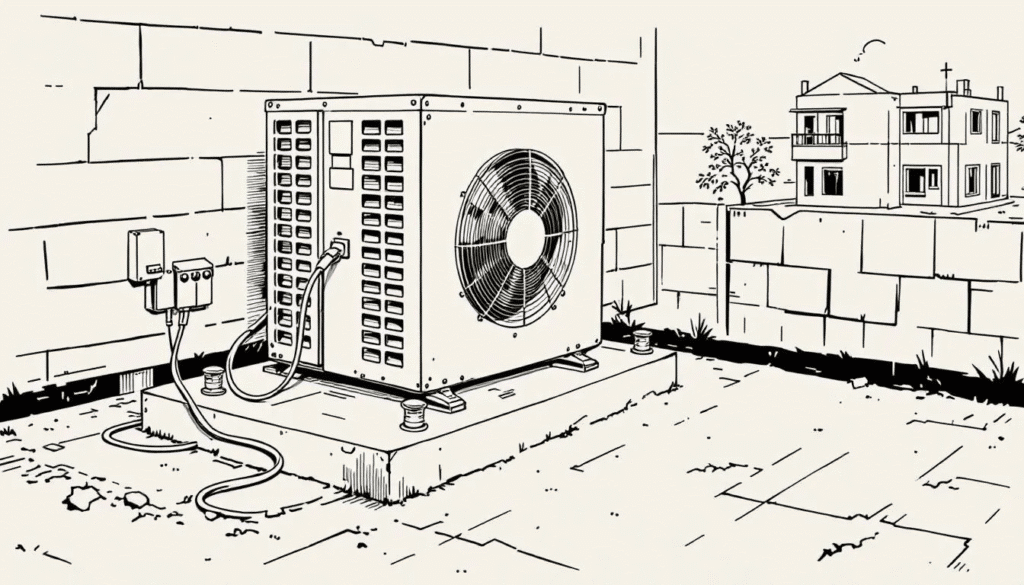
Once the site is prepared, place the outdoor unit on the composite pad and inspect the outdoor condenser for any damages that may have occurred during shipping. Proper handling of the outdoor unit is essential, so report any damage immediately to avoid future issues.
Next, connect the copper line set to the service valve by brazing to create a secure joint. Ensure all connections are secure to create a leak free connection and prevent potential refrigerant leaks, which could compromise the efficiency of your air conditioning unit.
Indoor Evaporator Coil Setup
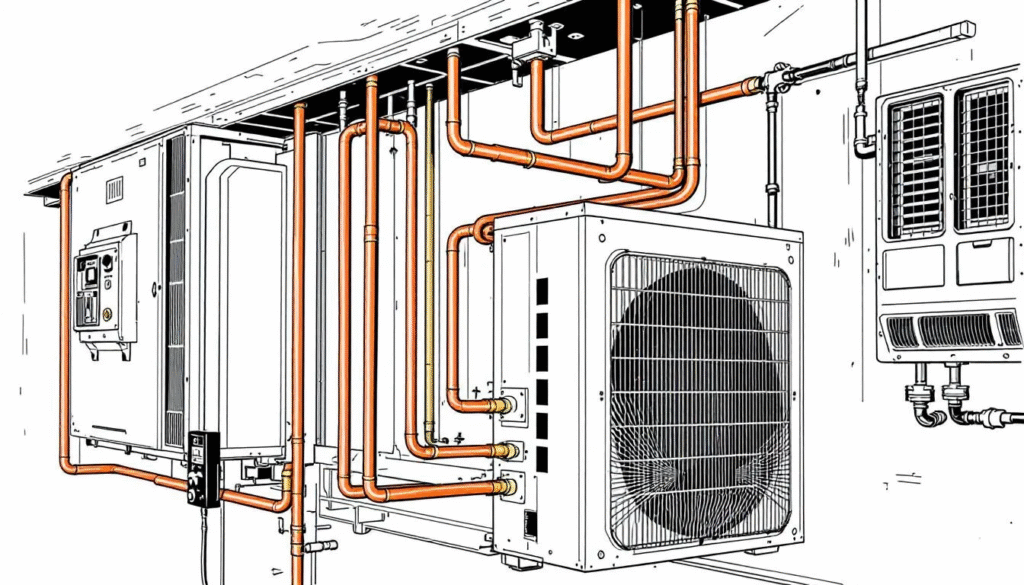
The evaporator coil setup is a critical component of the air conditioning process. Begin by:
- Disconnecting the sheet metal plenum.
- Performing any necessary prep work to the supply plenum.
- Choosing between cased and uncased coils, with cased evaporator coils being the preferred option for better functionality, including the new evaporator coil.
To ensure a proper connection and optimal HVAC system performance:
- Seal the evaporator coil to the existing sheet metal plenum.
- Be prepared to address any challenges such as restricted access due to room layout, which might require additional charges.
- Select a compatible evaporator coil.
Connecting Refrigerant Lines
Connecting the refrigerant line is a meticulous process that ensures the efficiency and longevity of your new air conditioning system. The two types of refrigerant lines used are the suction line, which is larger and insulated, and the liquid line, which is smaller. It is crucial to avoid mixing old and new refrigerant oils to prevent damage to the new system.
To ensure proper installation and protection of refrigerant lines:
- Secure the refrigerant lines every 4 to 6 feet using plastic or copper strapping.
- Install a filter dryer to protect the system from moisture and contaminants.
- Employ strict processes to prevent contamination, including using dry nitrogen to protect the copper tubing during welding.
Wiring and Electrical Connections
Wiring and electrical connections are crucial for the safe and efficient operation of your new air conditioner. Install a service disconnect box near the outdoor unit to manage electrical connections and ensure safety during operation. Various types of disconnect boxes are available, including fused and non-fused options.
Disconnect the power to the HVAC system to prevent electrical hazards before beginning the installation. Follow the National Electrical Code to ensure compliance and safety.
Mount the new service disconnect box to the house and wire it to the electric panel, ensuring all connections are properly secured.
Installing the Condensate Drain Line
The condensate drain line is a critical component that prevents water damage and maintains system efficiency. To set it up:
- Use PVC pipe for the primary condensate drain line.
- Run the pipe from the evaporator coil to the appropriate floor drain or condensate pump.
- If your house lacks a floor drain, install a condensate pump and ensure proper condensate tubing is used.
This setup will help manage any excess water or condensation effectively.
To protect your home from water damage, consider the following steps:
- Install a safety overflow switch in the condensate system to prevent flooding.
- Connect this switch to the evaporator coil’s secondary port.
- Ensure the system shuts off if the switch is tripped.
- Regularly service the condensate pump to maintain its efficiency.
Thermostat Installation and Setup
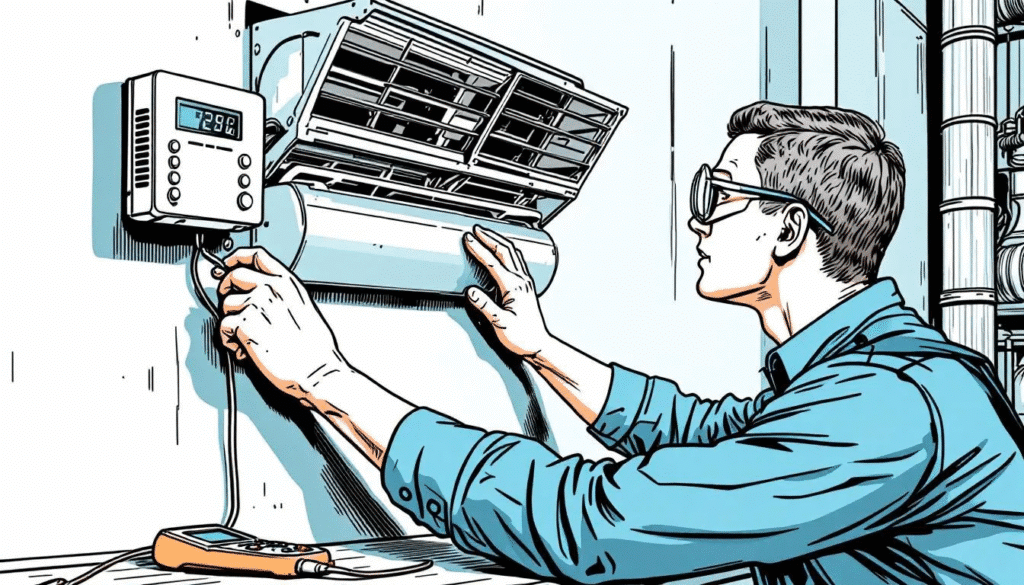
The thermostat acts as the control center of your air conditioning system, so proper installation ensures accurate temperature control. Position the thermostat away from direct sunlight and drafts for accurate temperature sensing. If you are keeping the existing thermostat, verify its compatibility with the new system.
Upgrading to a smart thermostat, like Google Nest, offers enhanced control and energy savings. The AC installer should demonstrate how to use the new thermostat, ensuring you can fully utilize its features.
System Testing and Commissioning
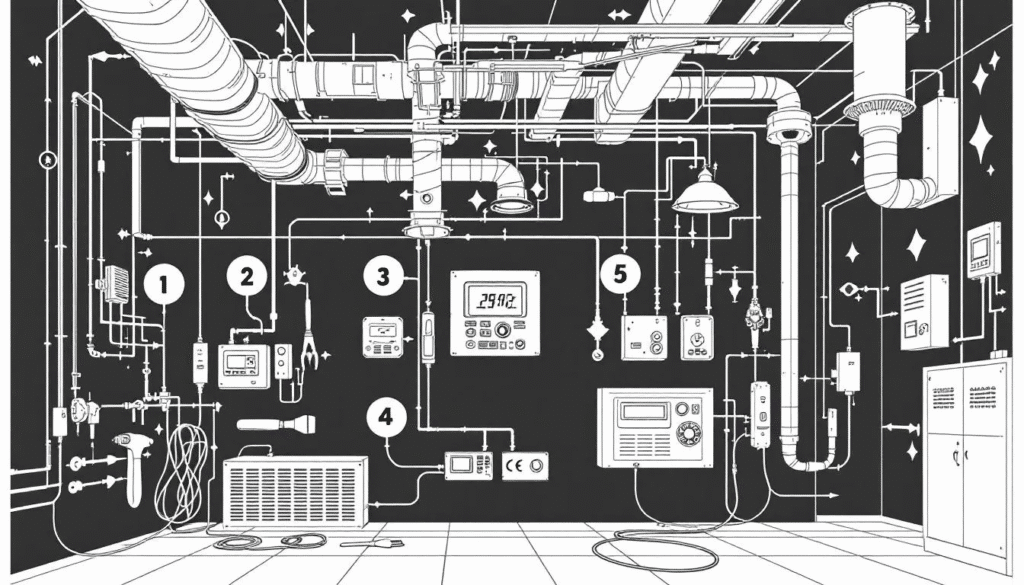
Testing and commissioning your new air conditioning system ensures it operates correctly and efficiently. During the testing phase, run the system for about 15 to 20 minutes to check for any issues, including:
- Verifying the thermostat setting
- Checking blower and compressor function
- Assessing air flow through ductwork
- Evaluating cooling adequacy
Post-installation issues can include refrigerant leaks, inadequate maintenance, and electronic control failure. Address these issues promptly to maintain the efficiency and longevity of your HVAC system.
Final Cleanup and Inspection
After completing the installation manual, it’s important to:
- Perform a thorough cleanup and final inspection.
- Remove the old equipment and restore the area to its original condition.
- During the new installation final walkthrough, discuss safety, maintenance, warranty, and any special instructions with the homeowner, including installation services.
Conduct functional performance tests to verify that the system operates correctly under real-world conditions. Cover all essential steps from design validation to final handover in the commissioning checklist.
Professional Maintenance Tips
Regular maintenance ensures your air conditioning system operates efficiently and lasts for years, providing cool air when needed. Regularly check the slope and clean the drain line to prevent clogs and algae growth. A clean-out in the condensate drain system provides easy maintenance access.
Common issues with AC systems include:
- Thermostat malfunctions
- Drainage problems
- Clogged filters
- Low or leaking refrigerant
HVAC professionals offer maintenance plans that can help keep your HVAC company system in top condition, ensuring optimal indoor air quality.
Professionals are familiar with the system and can provide better maintenance using specialized equipment, ensuring ongoing performance and detecting inefficiencies over time.
Find the best HVAC company in Milwaukee, WI
Are you looking for the best HVAC company to install your new air conditioning system? We hope the information in this article brought you up to speed on whats involved on a new AC installation.
At Quality, our signature is the service you deserve! We have the best trained installation technicians in southeastern Wisconsin. Quality is in our name and we hold ourselves to the highest standards to ensure installs are done right the first time. Check out our 1000+ customer reviews!
Are you in the Milwaukee Metro area and ready to take the next step with a quality and experienced Air Conditioning professional? If so, call us today or schedule an estimate. We would love to be the company who installs your next air conditioning system.
Frequently Asked Questions
Why is it important to evaluate existing ductwork before installing a new air conditioner?
Evaluating existing ductwork is crucial as it ensures optimal airflow and efficiency for your new air conditioning system, ultimately leading to reduced energy costs. Proper assessment can enhance performance and comfort in your space.
What should I expect during the initial home consultation with an HVAC professional?
During the initial home consultation, expect the HVAC professional to assess your current system, collect relevant details, and offer recommendations along with an installation estimate. This meeting is crucial for understanding your needs and planning your HVAC solution effectively.
Why is it necessary to have EPA-certified personnel handle the refrigerant during the removal of the old AC unit?
It is essential to have EPA-certified personnel handle the refrigerant during the removal of an old AC unit because they are trained to safely recover, manage, and prevent potential environmental harm from improper handling. This ensures compliance with regulations and protects both public safety and the environment.
What are the key steps in connecting the refrigerant lines during AC installation?
Connecting the refrigerant lines during AC installation involves securing the lines every 4 to 6 feet, installing a filter dryer to safeguard against contaminants, and using dry nitrogen to avoid oxidation during welding. These steps are essential for ensuring an efficient and reliable cooling system.
How often should I service my air conditioning system’s condensate pump?
You should service your air conditioning system’s condensate pump at least twice a year to maintain efficiency and prevent potential water damage. Regular maintenance is essential for optimal performance.


0 Comments